Sunday, 2 August 2015

Friendship Day

Today is Friendship Day and I made this card for a friend I used to work with as the LOTV image reminded me of the many lunch hours we have spent having a gossip over a cup of coffee.  I'm also sharing this super simple card with all my blog friends.


Card blank: 6" x 6" kraft 
Image: Lili of the Valley 'Coffee Break' pre-coloured topper
Punch: Woodware square corner
Card: Brown matt

I trimmed the topper slightly and punched the corners before layering it onto brown card and attaching it to the card front.  Enjoy your day!

Kath x

Saturday, 1 August 2015

Goodbye and Good Luck

The last Cuttlebug Mania challenge before Summerstop is 'Goodbye' so I've made this Goodbye and Good Luck card.


Card blank: 6" x 4" white silk 
Dies: Spellbinders Nestabilites A2 Curved Borders One and Memory Box Beautiful Baloon
Other: Computer generated sentiment 'Algerian' font
Snippets: Bird paper, white and maroon moondust card

I covered the card blank with bird paper.  The sentiment was printed in maroon onto white card and die-cut with a curved border die, this was then attached to the lower section of the card.  The balloon was die cut from maroon moondust card and attached to the card front with foam tape.

Kath x

Friday, 31 July 2015

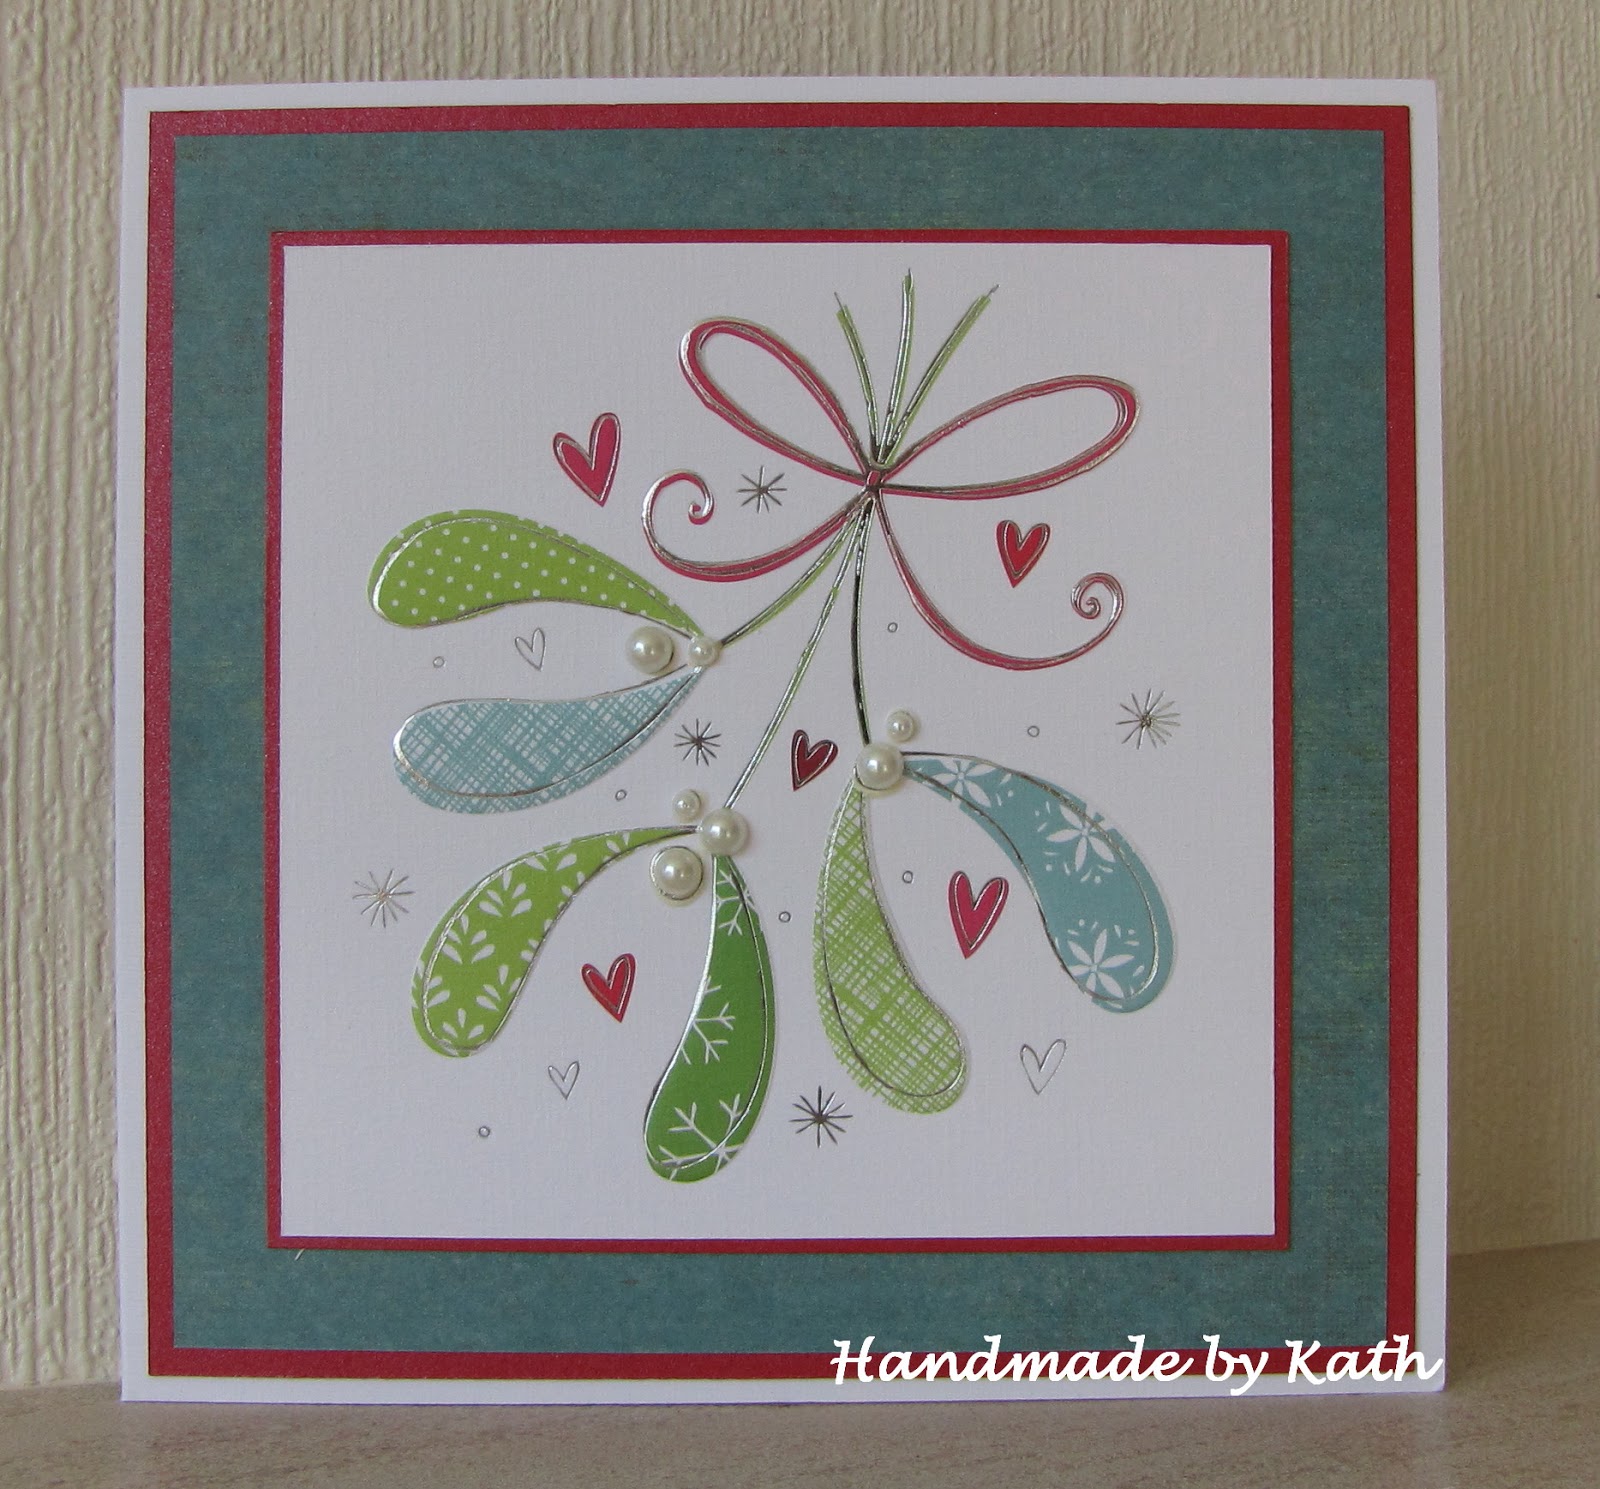
Mistletoe Snippets

I almost didn't make my ten Christmas card target this month but managed to make my tenth card on the last day of the month!  I used this lovely upcycled image to make this card for the Merry Monday 'Hearts' challenge and for a visit to the playground at Pixie's Crafty Workshop.


Card blank: 6" x 6" white linen 
Card: Dark pink moondust 
Other: Upcycled image, Wink of Stella
Snippets: Turquoise paper, pearls

The turquoise paper was layered onto pink moondust card and attached to the card.  I trimmed the image and layered it onto moondust card before attaching it to the card.   I found enough pearls to add to the mistletoe berries and then gave the hearts a Wink of Stella.

Kath x

Tuesday, 28 July 2015

Less is More Snippets

One of my favourite challenges is Di's snippets challenge so I was really pleased to see that she is Guest Designer for this week's Less is More challenge which is to use 'Snippets'.   This is my card for both Less is More and a visit to the snippets playground at Pixie's Crafty Workshop.


Card blank: 7" x 5" white silk 
Stamp: Clearly Besotted (magazine freebie)
Die: Wild Rose Studio 'Rose Bunch'
Ink: Versafine Imperial Purple
Colouring: Promarker
Other: Wink of Stella
Snippets: White card, green card, purple flower paper, white ribbon

I stamped the sentiment directly on the card front and outlined it with a Wink of Stella.  I layered strips of purple flower paper to both sides of a piece of white card before attaching it to the card front.  The Rose Bunch was die cut from green card and the flowers from purple paper, these were then attached to the white panel.  I coloured a small piece of white ribbon with a Promarker so it matched the purple paper and then tied it into a small bow before attaching it to the card.

Kath x

Sunday, 26 July 2015

Take it easy - it's your 13th birthday!

It's hard to believe that my niece's eldest will be 13 in a couple of weeks - where does the time go?  He's a very laid back young man, so I thought this LOTV pre-coloured topper would be perfect for his card.   I'm entering this into the current Seize the Birthday 'Anything Goes' challenge and Crafty Hazelnut's Patterned Paper challenge.


Card blank: 7" x 7" kraft 
Image: Lili of the Valley 'Lazy Afternoon' pre-coloured topper
Card: Dark brown 
Colouring: Promarker
Paper: Hot off the Press Ultimate Pack (floral)
Other: Computer generated sentiment (Cooper Black font)

I layered a square of green paper onto brown card and attached it to the card front.   A strip of co-ordinating paper was layered onto brown card and attached to the left side of the card.   The pre-coloured topper was layered onto brown card and attached to the card front with foam tape (as I had only got white tape I ran a dark brown Promarker around the outer edge so the tape blended into the card).   I used Cooper Black font for the sentiment and printed it in a dark brown, this was layered onto brown card and attached to the card front.  Quick and easy!

Kath x

Saturday, 25 July 2015

July Rudolph Day

I can't believe that I've been back from my holiday for a week - the time has flown by!  We had a fabulous time, the weather was generally very good and we walked over 100 miles during the holiday, mainly on the stunning coast path.

I took a lot of stamped images on holiday so I could relax with some colouring in an evening and this is one of the images I coloured, ready to be popped on a card for the July Rudolph Day.  I'm also entering Crafty Hazelnut's Christmas Challenge Extra where 'Anything Goes as long as it's Christmas'.  I actually coloured three poinsettias so have made three of these cards towards this month's ten Christmas cards.


Card blank: 6" x 4" white silk 
Stamp: Personal Impressions 'Poinsettia' and Hot off the Press sentiment (magazine freebie)
Ink: Memento Tuxedo Black and Versafine Onyx Black
Colouring: Promarkers
Card: Red mirri and white stamping
Paper: Beige patterned 
Other: Wink of Stella

I stamped the poinsettia onto white stamping card and coloured it with Promarkers, before fussy cutting around the image.  I stamped the sentiment onto the beige paper before layering it onto red mirri card and attaching it to the front of the card.   I shaped the poinsettia before attaching it to the card with Pinflair glue.   To finish, I outlined the flower and sentiment with a Wink of Stella.

Kath x

Friday, 3 July 2015

Taking a Break

We're off on holiday tomorrow for a couple of weeks, so I'm taking a break from blogging.

We've rented a converted barn in the Poltesco Valley, near Cadgwith in Cornwall.   Hopefully the weather will be as good as we've had over the last week and we can explore this beautiful area.

Back in a couple of weeks!

Kath x

Monday, 29 June 2015

June Rudolph Day

It's hard to believe that it's the sixth Rudolph Day of the year - so here is my super quick card for the challenge using one of the many upcycled cards from my Christmas box.  The card and paper are from my snippets drawer so I'm also paying another visit to the playground at Pixie's Crafty Workshop.


Card blank: 6" x 6" white silk 
Other: Brown heart button, upcycled Christmas card, Xmas Red Stickles
Snippets:  Red mirri card, brown paper

I layered a square of brown paper onto red mirri card and attached it to the card blank.  The wreath was a die-cut that had been attached to a card in my upcycling box.  I removed it from its original card and attached it with foam pads to my card.  There was already some glitter on the bow, but I added more to the berries on the wreath.   To finish, I attached a small brown heart button in the centre of the bow.

Kath x

Sunday, 28 June 2015

M for Magical

The current ABC Christmas Challenge is 'M for Magical' which can be a magical image or sentiment - I've chosen to use a cute Lili of the Valley angel topper.  The paper, card and ribbon are from my snippets drawer so I'm visiting the playground at Pixie's Crafty Workshop and am also entering Crafty Hazelnut's Patterned Paper Challenge and Crafty Hazelnut's Christmas Challenge Extra.


Card blank: 6" x 6" white silk 
Image: Lili of the Valley 'Pretty Christmas' pre-coloured topper
Dies: Spellbinders Nestabilities Classic Squares Large, Memory Box Mini Holly Leaves
Embossing: Kars tan embossing mat
Other: Diamond Stickles, Wink of Stella
Snippets: Silver and red mirri card, green card, green holly and red sentiment paper, white ribbon

I layered the green holly and red sentiment papers onto a square of silver mirri card and wrapped a piece of white ribbon around the join before attaching it to the card blank.  The topper was attached to a die-cut, embossed square of silver mirri and attached to the card.  I then made a small ribbon knot to the left of the topper.  I attached a tiny snippet of green holly paper to green card (to strengthen it) before die-cutting the holly leaves, I die-cut the berries from red mirri card and then attached the holly to the bottom of the card.   To finish, I used Diamond Stickles on the snowflakes and added a Wink of Stella to the angel's wings, dress and holly leaves.

Kath x

Saturday, 27 June 2015

Memory Box Butterfly

Memory Box have started a monthly challenge and the first challenge is 'Butterflies'.  As I have used a floral paper for this birthday card I'm also entering the Butterfly Challenge which is 'F for Flowers' and the Seize the Birthday 'Anything Goes' challenge.


Card blank: 6" x 4" white silk 
Dies: Memory Box 'Grand Happy Birthday' and 'Pippi Butterfly'
Card: White silk card
Paper: Purple floral paper
Other: Wink of Stella

I used white silk card to cut my two dies.  The card blank was covered with purple floral paper before the 'happy birthday' was attached to the bottom of the card.   I curled the butterfly wings and attached them to the card before adding a Wink of Stella to the bodies.

Kath x

Sunday, 21 June 2015

We Three Kings

The current ABC Christmas Challenge is 'L for Lyrics' so I've used this lovely upcycled embossed image for my 'We Three Kings' card.  The gold and blue card were from my snippets drawer, so I'm also popping across to the playground at Pixie's Crafty Workshop.


Card blank: 6" x 6" blue speckle
Punch: Woodware squared corner
Other: Upcyled Christmas card
Snippets: Gold matt and dark blue card

I trimmed the upcycled card to size and used the punch on the corners.   This was layered onto gold and then blue card before being attached to the card front.   Simple!

Kath x

Saturday, 20 June 2015

Snowman and snowflakes

I love these Lili of the Valley toppers as they make quick and cute cards.   This card was made for the current Christmas Cards All Year Round 'Snowman' challenge.  I'm also entering Crafty Hazelnut's Patterned Paper Challenge and, having read Hazel's comment, I'm also entering Crafty Hazelnut's Christmas Challenge Extra.


Card blank: 6" x 6" white silk 
Image: Lili of the Valley 'The Perfect Snowman' pre-coloured topperDie: Spellbinders Nestabilities 'Lacy Squares'
Punch: Woodware Snowflake
Embossing: Kars tan embossing mat
Card: Silver mirri
Paper: Blue and white snowflake 
Other: Clear gems, Wink of Stella

I layered the snowflake paper onto silver mirri card and attached it to the card blank.  I die-cut and embossed the lacy square from silver mirri before trimming the topper so it fit inside the embossed area of the square.   I layered the topper onto the lacy square and attached it to the centre of the card blank.  I punched three small snowflakes from the blue paper, attached them to the card and added small clear gems to the centre.  To finish I outlined the snowman, snow and the pale blue areas of the clothing with a Wink of Stella.

Kath x