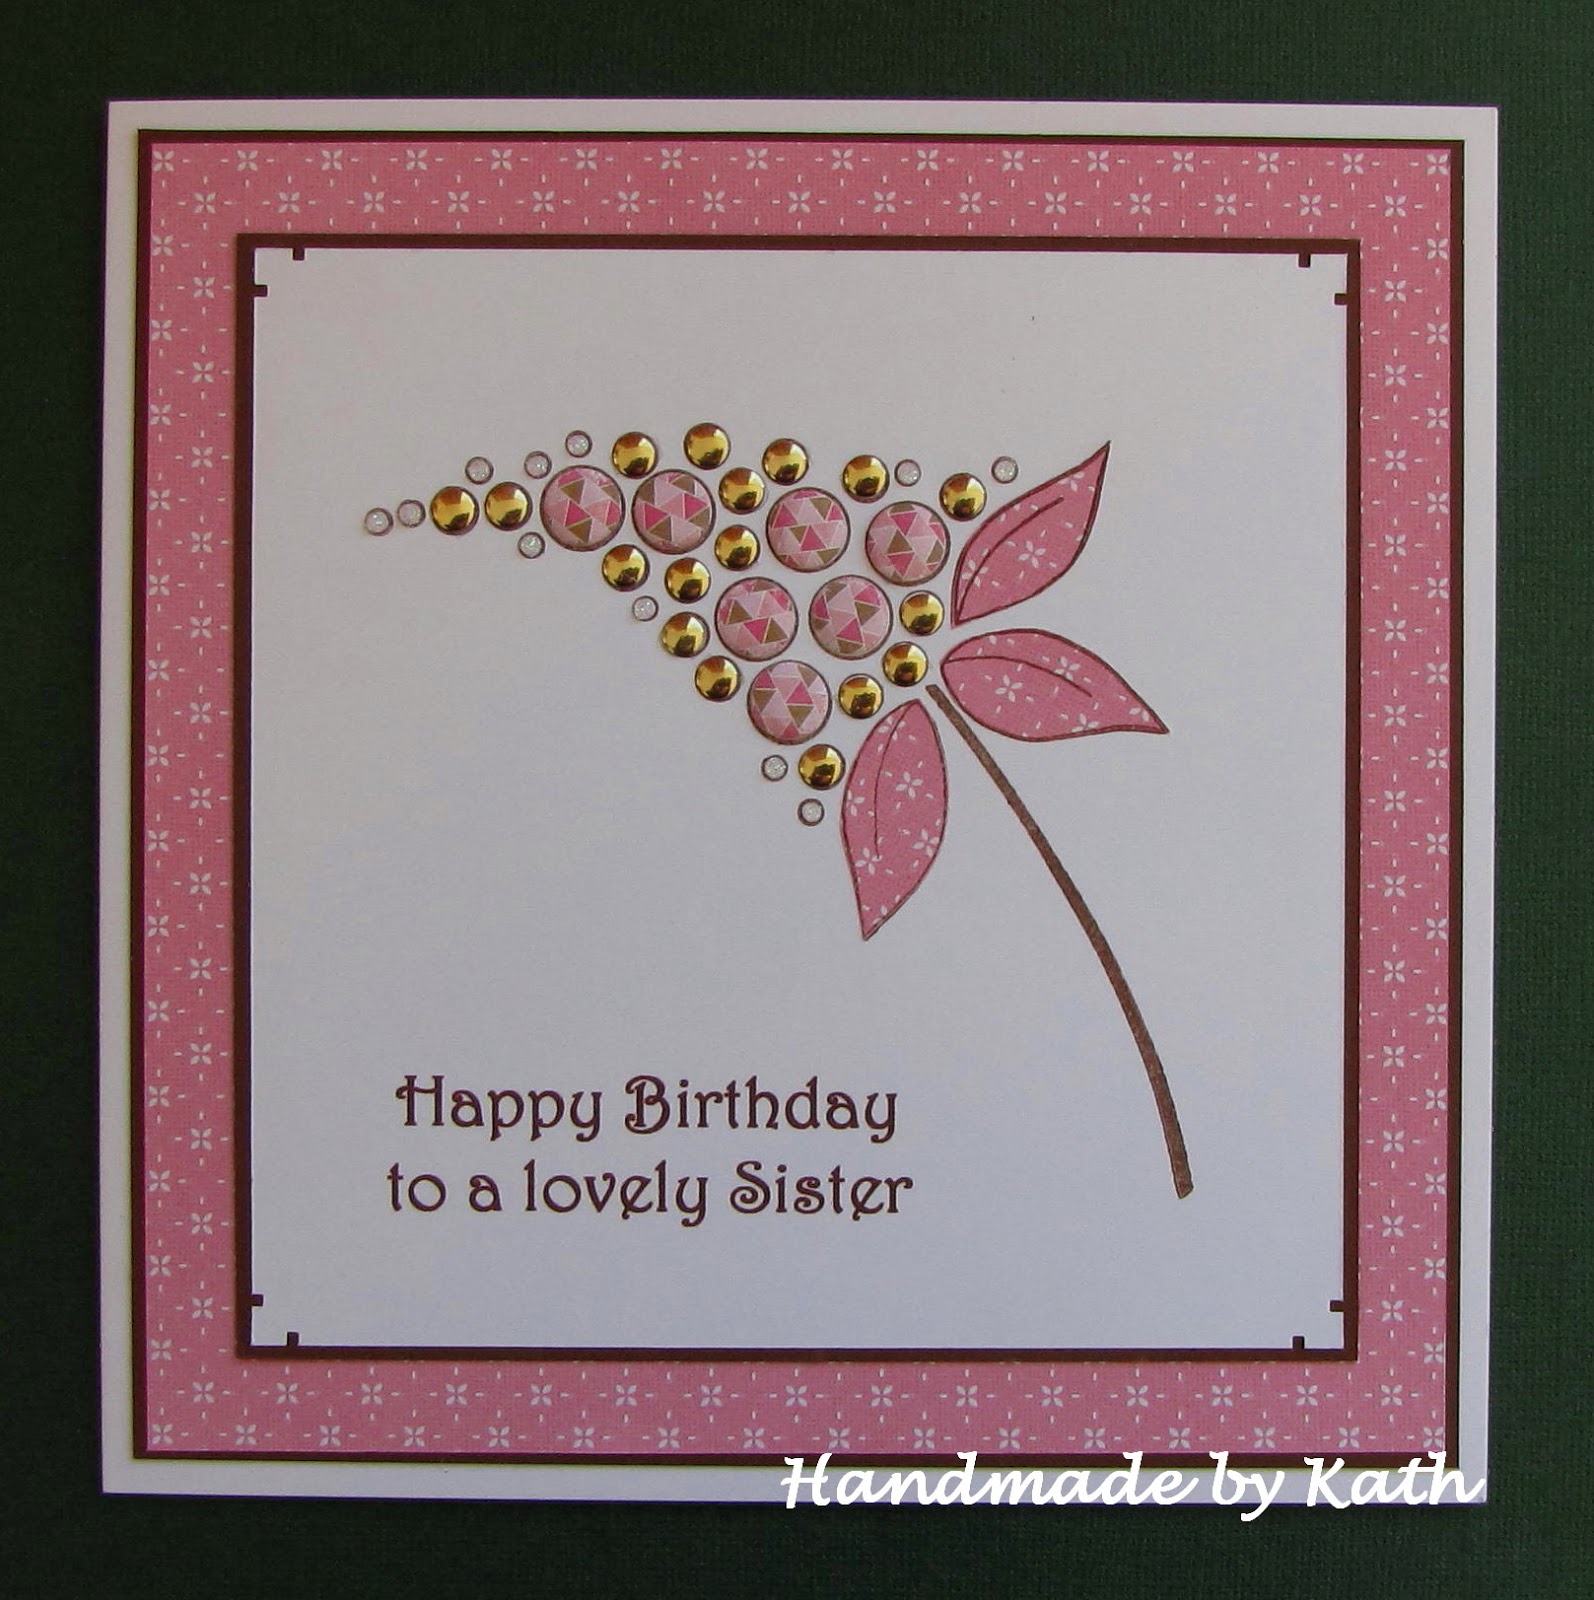
Card blank: 7" x 7" white silk
Stamp: Woodware 'Bubble Bloom Clarissa'
Embossing: WOW Metallic Gold Sparkle Embossing Glitter
Ink: Versamark, Versafine Toffee
Paper; Making Cards 'Party Girls' (magazine freebie)
Other: Card Candi, Papermania Transparent Shimmering Dots, Mark Richards Gold Nailheads
I stamped and embossed the flower and sentiment onto white card. This was trimmed, layered onto purple/gold paper and attached to the card front. I stamped the leaves with Toffee ink onto another piece of the purple/gold paper, fussy cut them just inside the stamped image and attached them to the card. The flower was decorated with Card Candi, shimmering dots and nailheads.
Kath x